Ryedale Woodturners
This website is being updated from August 2022. This is an archive page.

Joey Richardson
Thursday 3 October 2019
Snainton Village Hall
Joey returned to the club for the first time at our village hall venue - her last visit was in October 2016. She brought along some of her exhibition work, and did, in her words, "a little of everything" from her vast array of skills and techniques. 35 members and guests gathered to watch the demonstration.
Thin turning
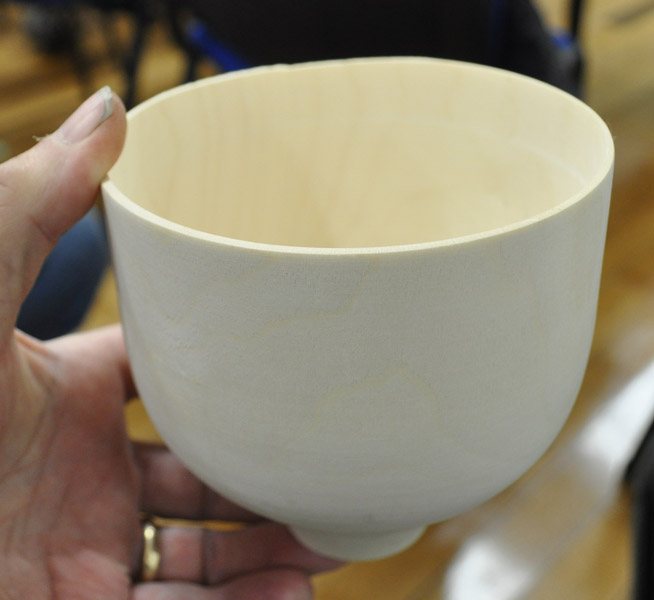
 Joey started where most of her work starts, turning a thin cup shaped bowl from wet sycamore. She likes sycamore: it is something of a weed, not highly prized as timber generally, it has even tight grain, and is readily available. She stores it freshly cut in a freezer to preserve the properties of green wood that aid her designs.

Turned to shape, the peice was hollowed out using one of Simon Hope's simple but effective square bar small hollowing tools. The square profile ensure that the cutting tip is presented at the correct angle, removing the likelihood of a catch.
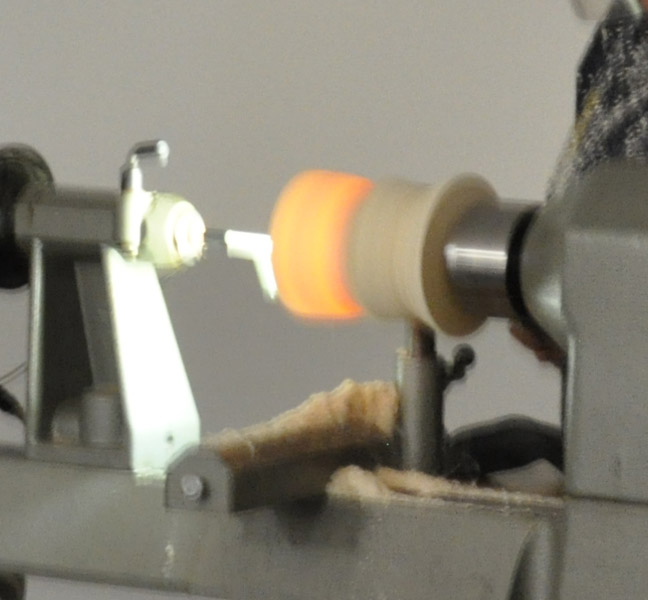
Once the main core of the wood was removed, Joey inserted a bright light into the void, of the type used on a sewing machine. The produced an orange glow through the thin section. The object is to make the colour uniform, removing any bands of darker colour, down to 2 - 3 mm.
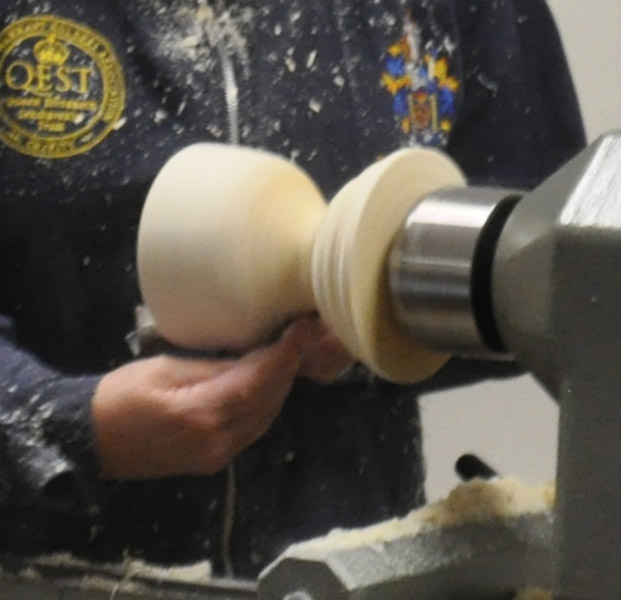
With work so thin, sections need to be completed about an inch at a time, with no return possible, as the wood will have dried. Light sanding will increase the speed of drying - once it is done the wood will be dry and not fit for further tool work. At home 20 seconds in the microwave would ensure it was dry.
Having shown us the turning side of her work, Joey then moved across to a table equipped with various decorating tools. She started with a yellow saburrtooth burr mounted in a NSK Presto air drill - running a little faster than a Dremel or Proxxon at 360000 rpm! Details of her tools are on an sheet at joeyrichardson.com
Shaping, spraying and piercing
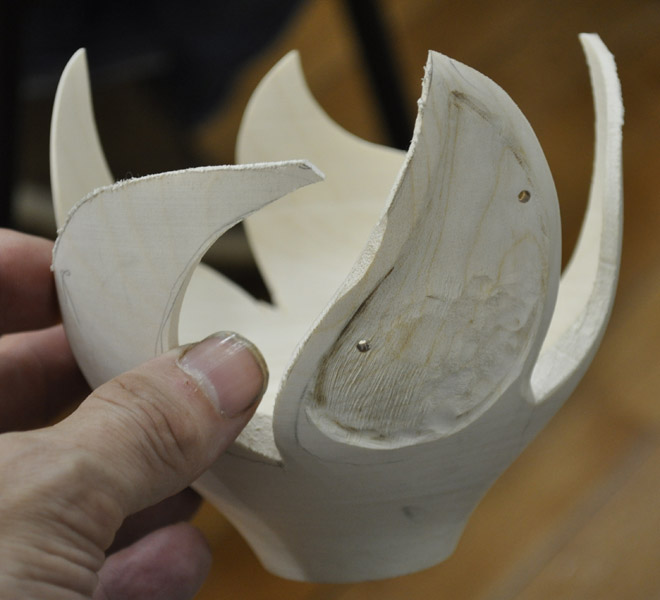
The burr could be used to further thin out and texture a panel. An impression of thinness can be improved by taking down the edges with the burr as well. The leaves in this example could be cut with a mini jigsaw, or with a cutter in the drill.
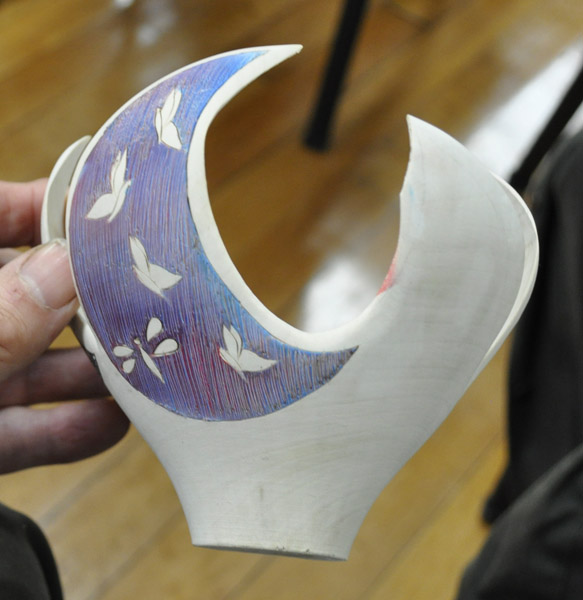
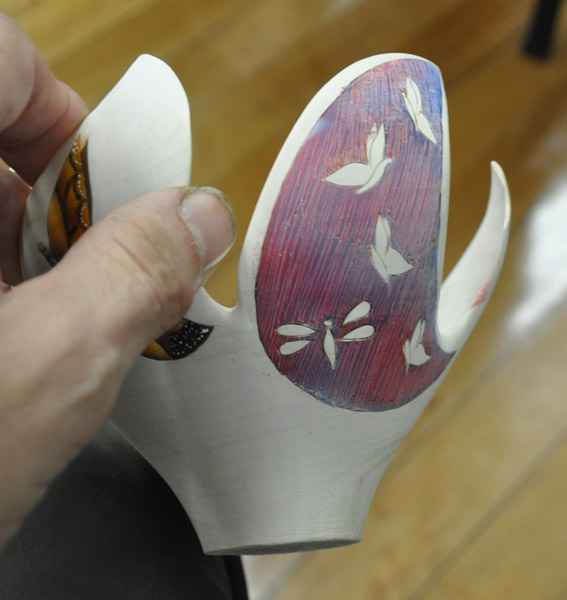
Joey moved on to some airbrushing, using an Iwata pen. She demonstrated masking techniques, and then a two-tone effect where the wood is scored with a cutter and then sprayed in two different directions to create the effect.
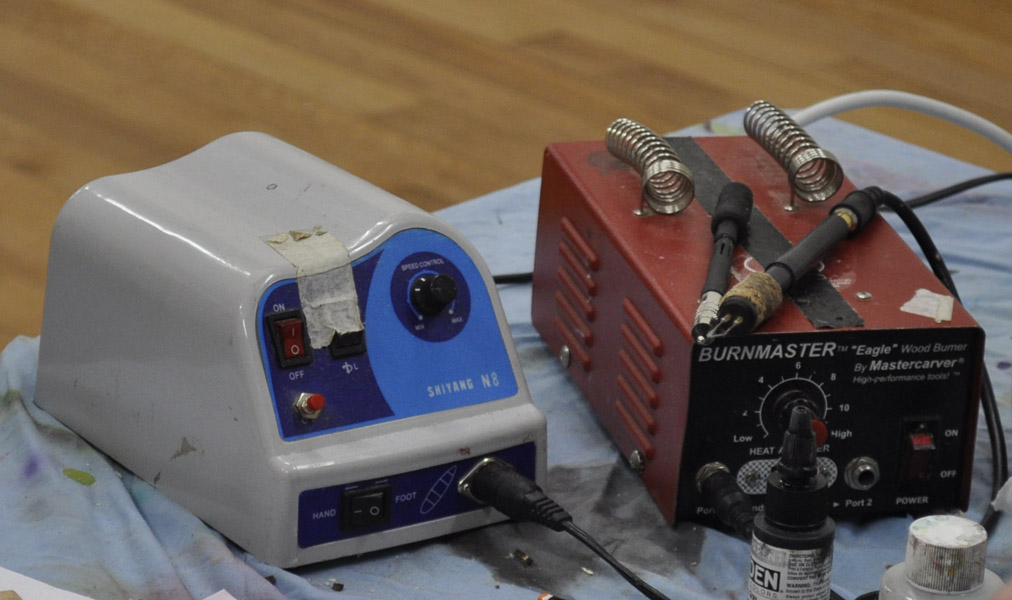
Areas to be carved out or painted are often outlined with pyrography. Joey uses a Burnmaster machine. She transfers images on to wood using a photocopy or laser print, then xylene, acetone or cellulose thinner.
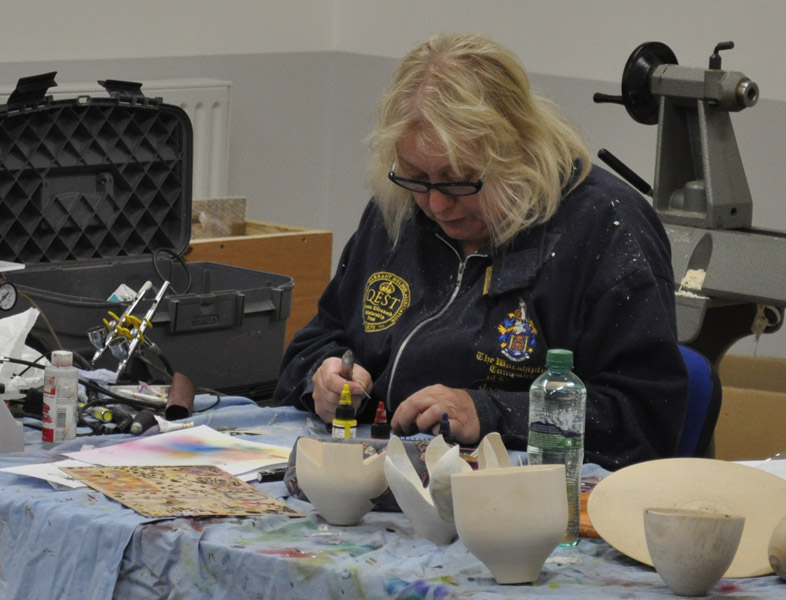 Joey also did some piercing. Her 3 guiding principles are: 1 Keep the tool perpendicular; 2 Start and finish in a corner; 3 Cut clockwise. Effectively you are treating the piercing tool as a miniature router. Use a bristle brush to clean up the swarf.
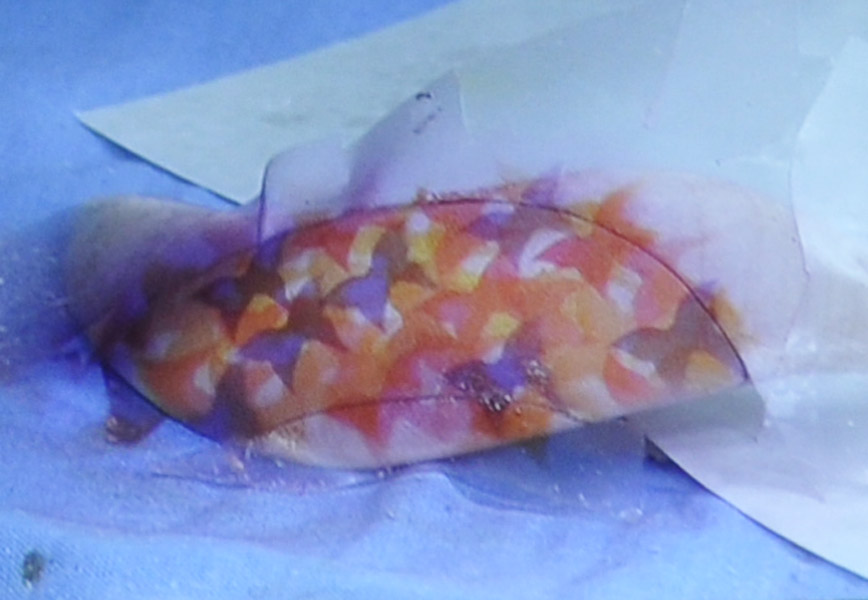
A final demonstration was using the airbrush again, to create layers of butterflies in different colours. They were built up spraying through a stencil. Finished with acrylic sanding sealer then lacquer, and a 2000 grit finish.
More from Joey Richardson
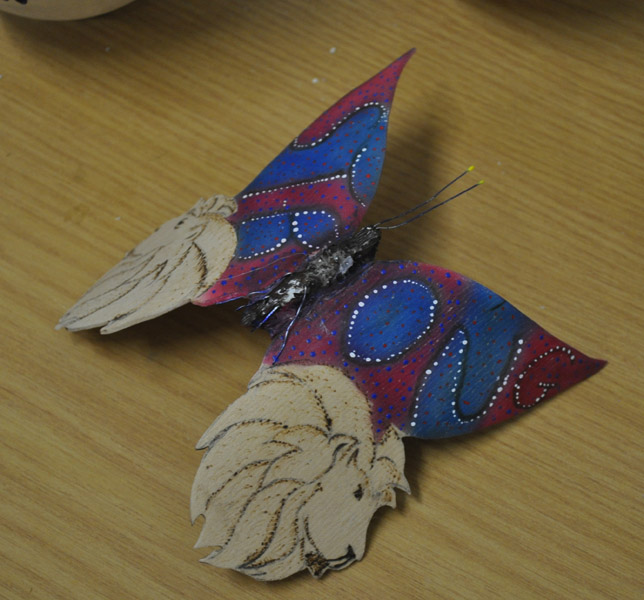
Butterfly by Joey Richardson
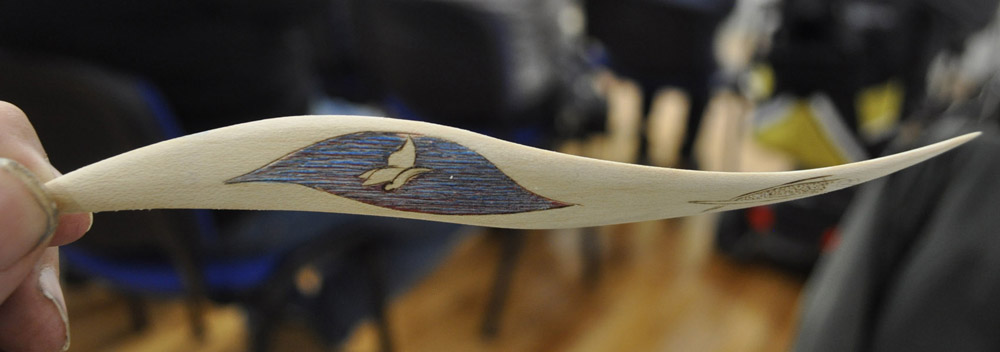
Two tone example - blue
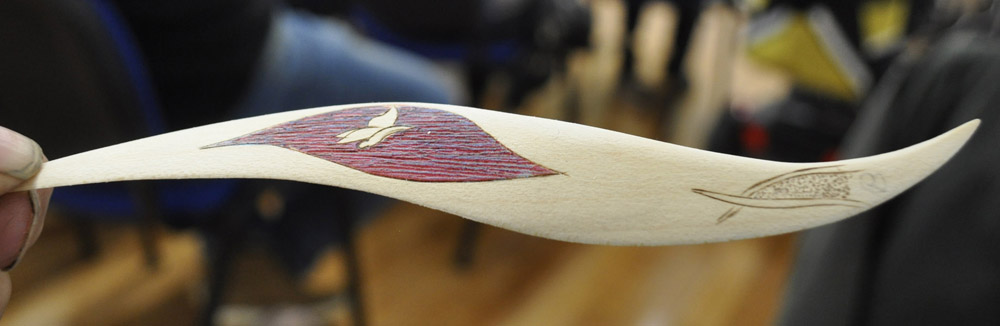
Two tone example - red
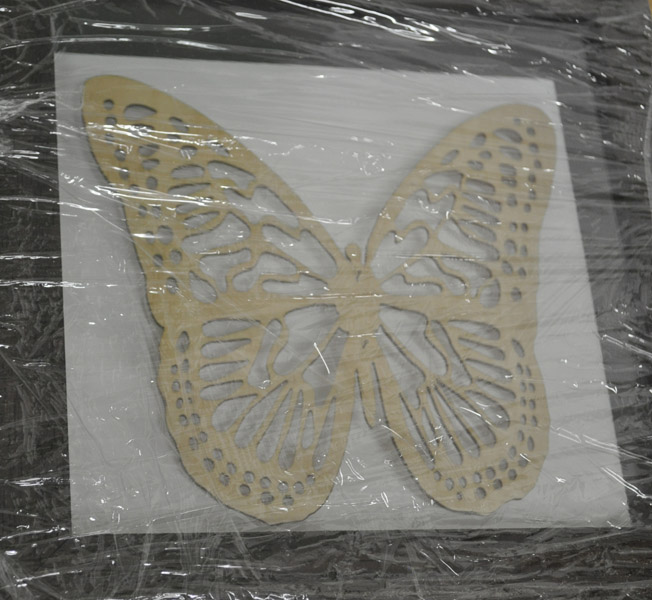
Butterfly pierced panel
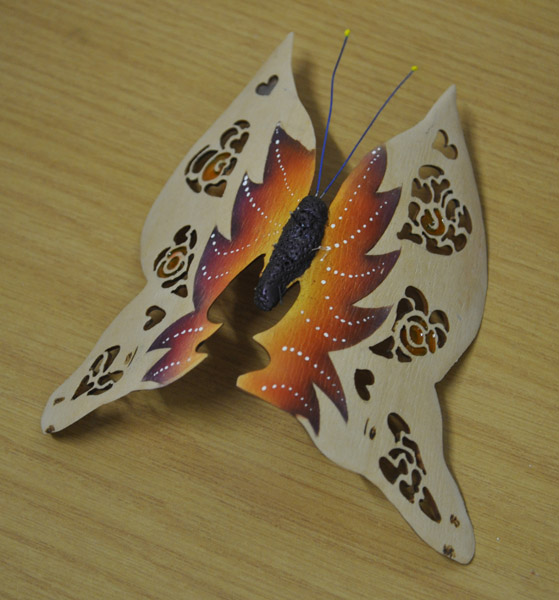
Butterfly by Joey Richardson
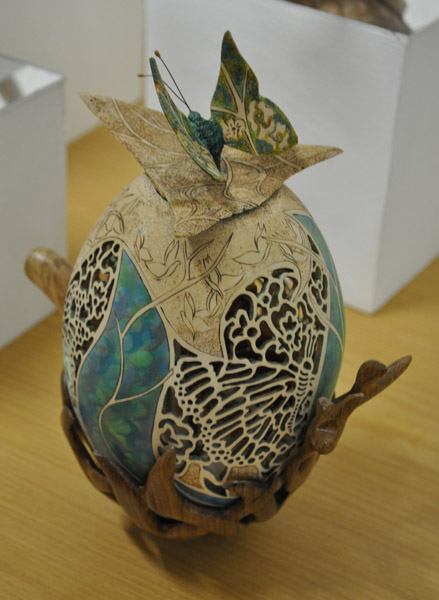
Exhibition piece by Joey Richardson
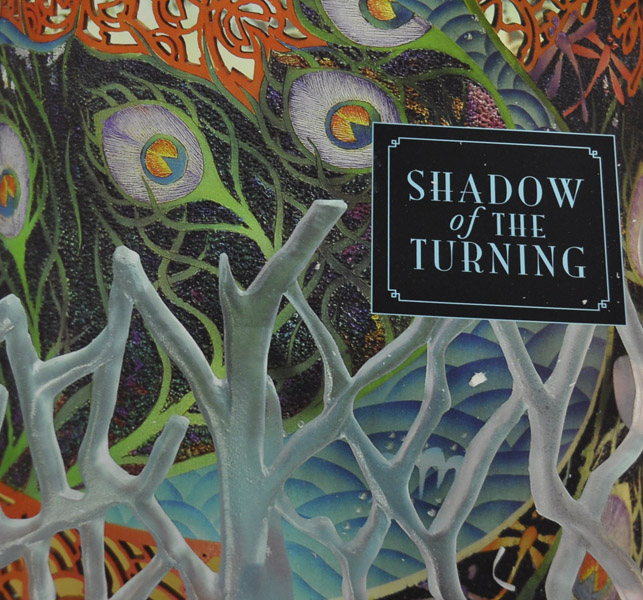
Joey Richardson book
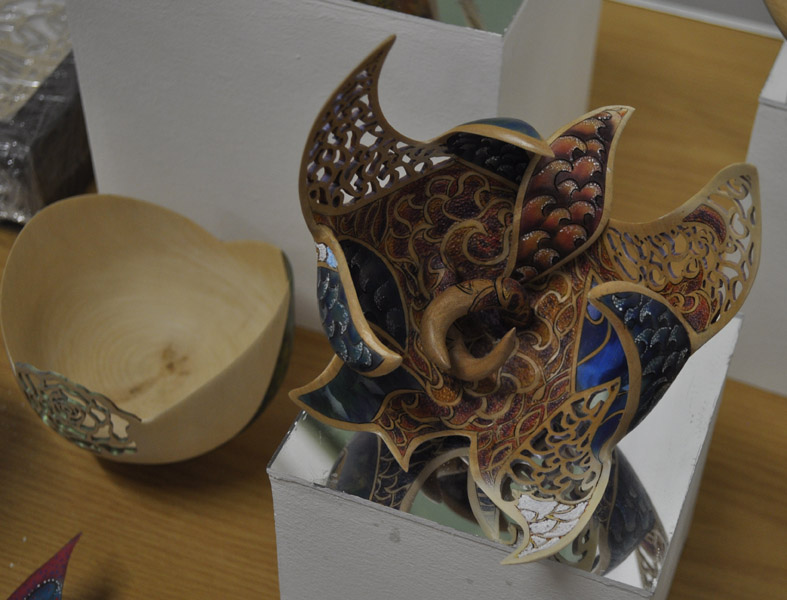
Exhibition piece by Joey Richardson
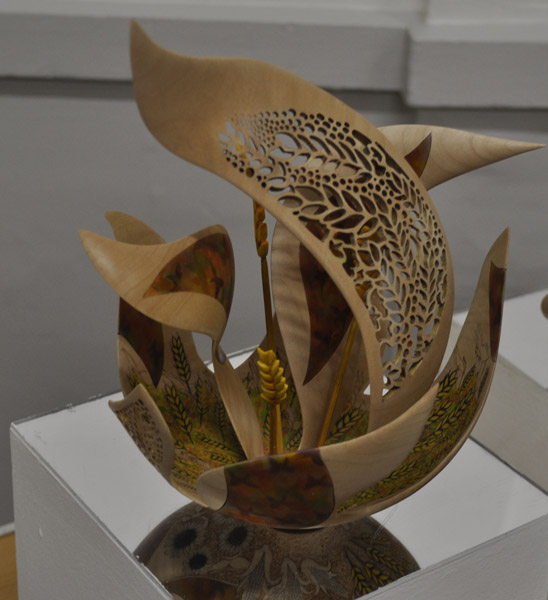
Exhibition piece by Joey Richardson
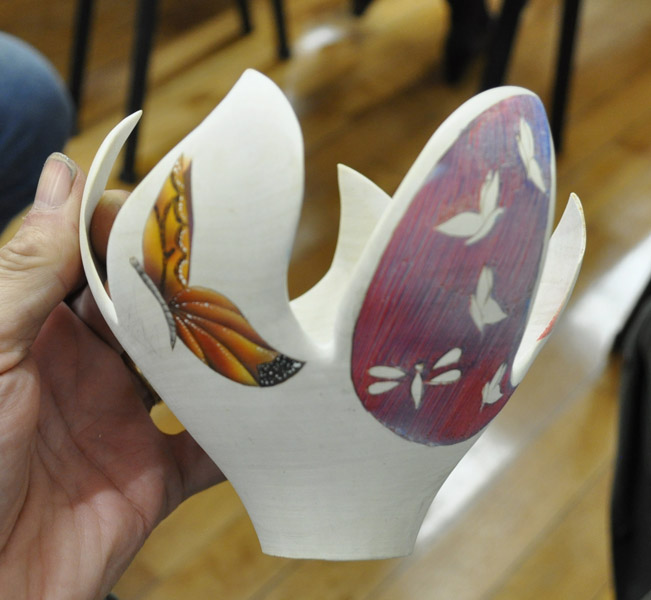
Painted turning
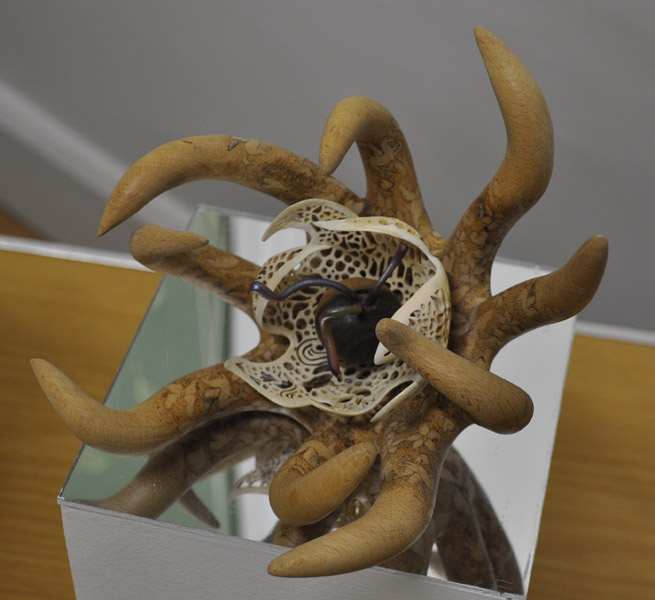
Exhibition piece by Joey Richardson
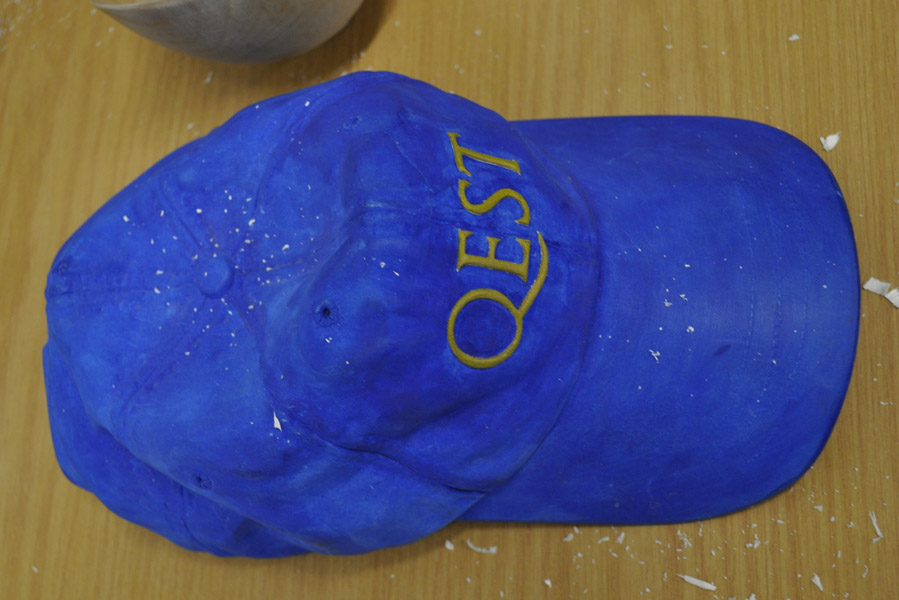
Wooden hat
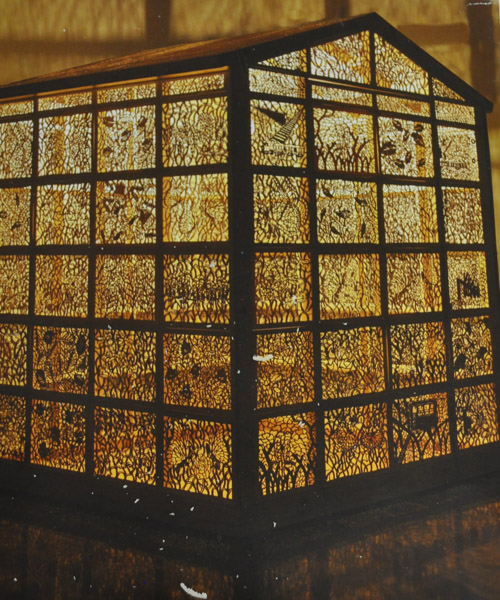
Exhibition piece - pierced panels