Ryedale Woodturners
This website is being updated from August 2022. This is an archive page.

Darren Breeze
Thursday 4 April 2019
Snainton Village Hall
This was Darren's first visit to the club, indeed his first visit to Yorkshire since childhood.
Getting to be a professional woodturner
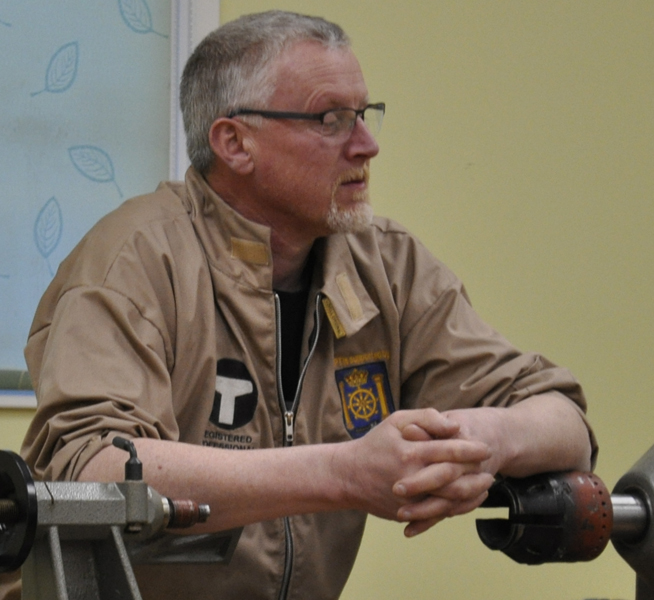
Darren started with a brief resume of his life, from a down and out suffering with drugs and alcoholism, to running a building firm with a £1m turnover, its subsequent crash, development of woodturning from hobby to trade, opening a gallery and workshop in Lowestoft, and winning a bursary from AWGB
Japanese Style Lidded Vase

His main project for the evening was a Japanese style lidded vase. He started with a sycamore spindle blank, and turned it to shape using a spindle gouge ground at 40 degrees, with a roughing gouge used for a planing cut.
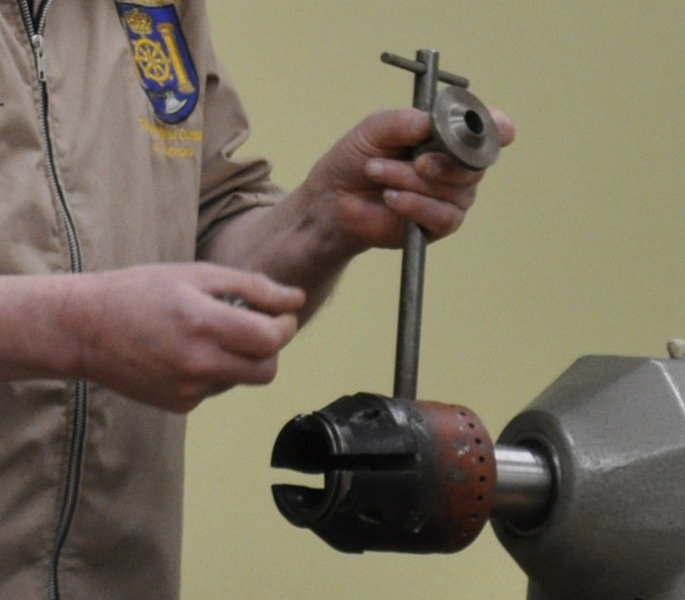
. He brought along his O'Donnell jaws for holding the piece. Initial turning was between centres, with a 2 morse taper caddy held in the jaws for the initial turning between centres. This saves removing the chuck to hold the morse taper.

The inside was first drilled out using a (very sharp) Festool Forstner bit, then widened and shaped a little with a Simon Hope hollowing bar.

Next came the lid, which was to be a "pagoda" rood shape. It was shaped to leave a spigot that would fit inside the hole at the top of the vase. Not a tight fit - in his shop customers usually choose loose fits. Only woodturners look for the Russan fit ("popov").
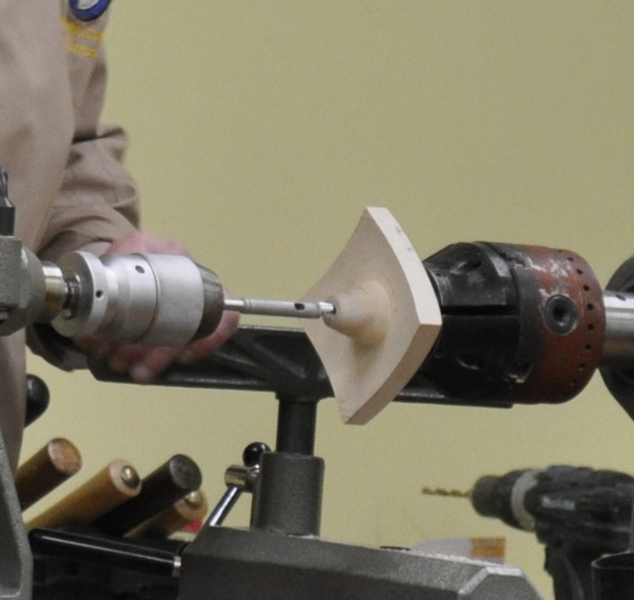
With the lid shaped, a hole was drilled through the top, with a forstner bit, which would take a thin dowel, that would be a ring holder for anyone who wished to use the vase that way. Some beads were formed on the top of the lid.

The dowel was then turned from a piece of jarrah, rescued from a piece of furniture. Avoid "cheap" jarrah - it probably comes from Australian railway sleepers, and hence will have all kinds of unpleasant chemicals in it.
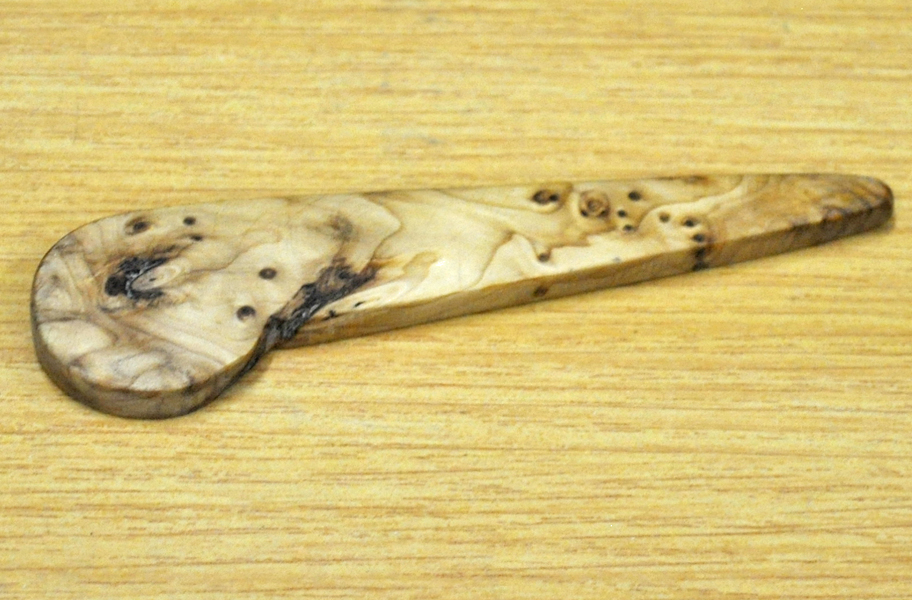
The brightly coloured jarrah ha a mortise hole pre-drilled in it, to take a peg which had been cut out of a burr offcut. This secures the lid on top of the vase.

The finished vase was assembled, with the jarrah stick going through the centre of everything, and the lid held in place by the peg. With time, Darren would normally colour and texture some or all of the piece. He didn't have "one I made earlier", because every time he makes these they sell - the first for £40, the last for £95, a price intended to deter people from buying so he had a demo model. It sold.
Textured and coloured bowl
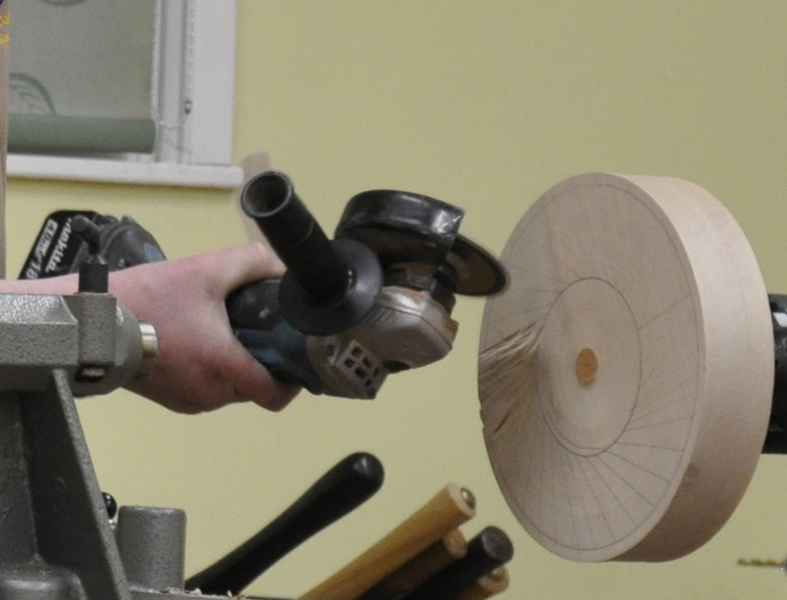
With 30 minutes remaining (until 10.00 pm) Darren offered us a quick demonstration of texturing and colouring on a bowl blank, which was taken up. First he flattened the blank, then attacked it with an angle grinder fitted with a chainsaw blade.
 He uses either the 4.5 inch angle grinder, or a long neck Proxxon. Chainsaw blades are available for both. The angle grinder completes the job more rapidly - 2-3 minutes. Add lines randomly rather than in sequence, to avoid matching up angles and patterns at the end.
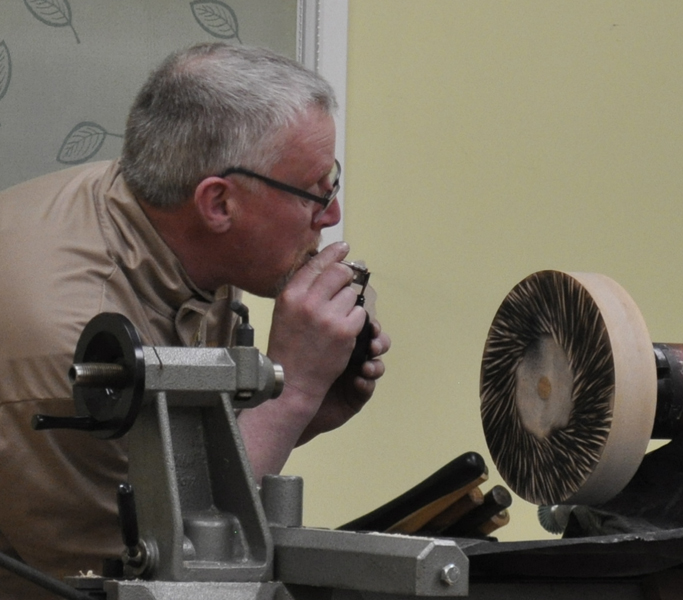
The textured surface was then run over with a bristle wheel, and burnt with a blowtorch, taking off the rough burrs left by the texturing wheel.
Then it was sprayed using a small diffuser pipe and ink - always remember to blow and not suck with these!
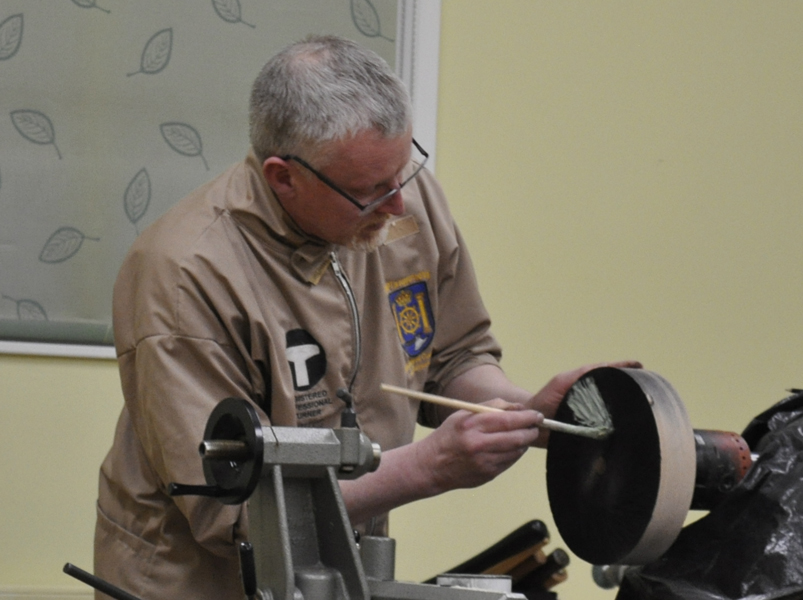
Chestnut coloured wax was then brushed on, making sure that it filled all the hollows. This one leaves a kind of verdigris finish.

Liberon Chantilly antique gold was then applied sparingly to the raised parts of the texture. A small dab was put on a protective glove, then applied with fingers to the surface. A small amount goes a long way with this kind of product, so the high prices are not quite as bad as they may seem..
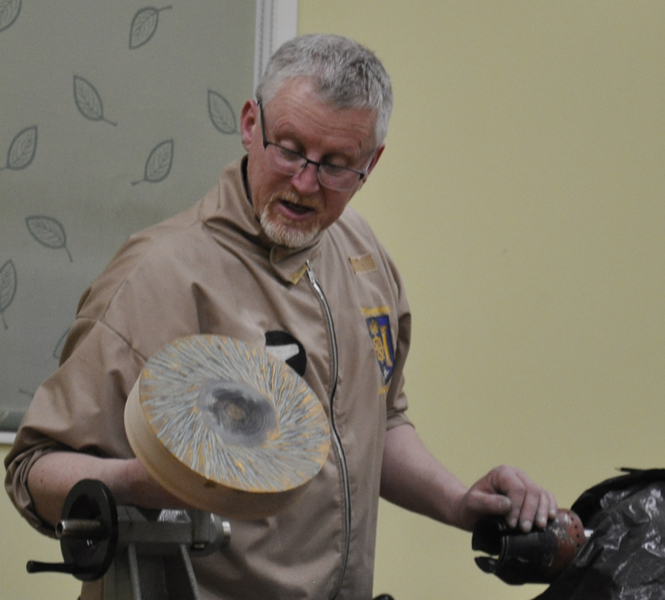 The bowl blank would then normally have the rear shaped and the centre turned out, leaving the natural wood to contrast with the textured and coloured surface. Half an hour of texturing and colouring can turn a plain bowl which might sell for £25 into a £75 - £120 gallery item.
More from Darren Breeze, plus club members' items
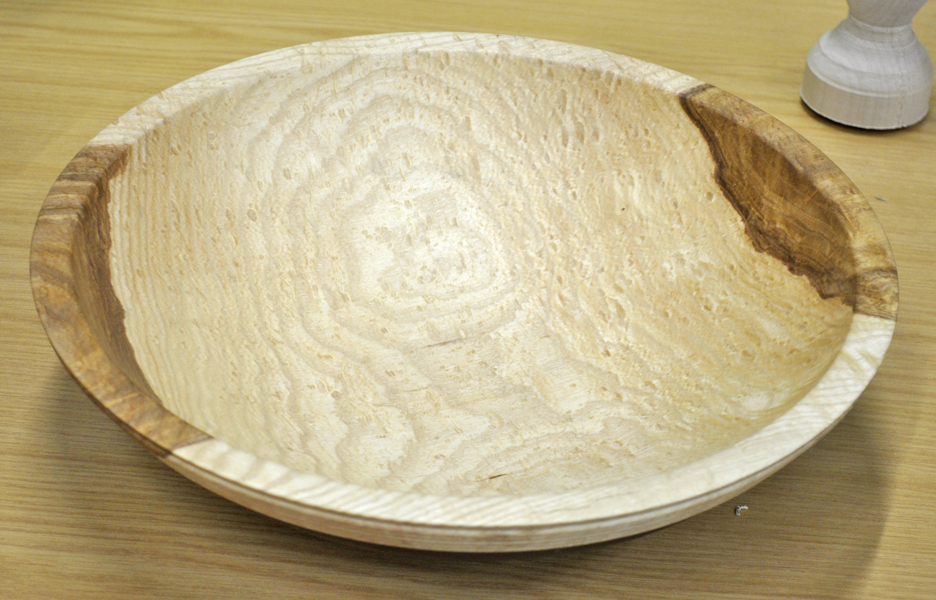
Bowl by Darren Breeze

Hollow form on tripod stand (Darren Breeze
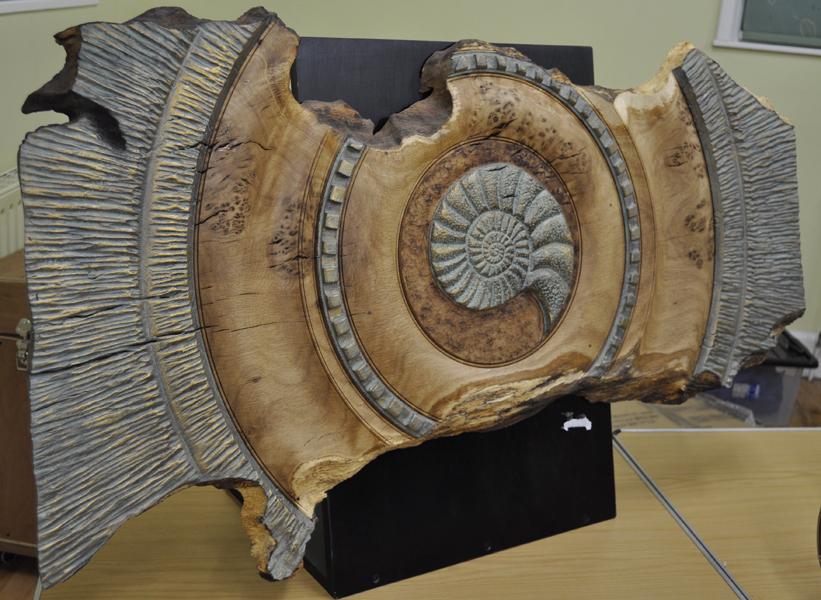
Wall hanging - about 3 foot long (Darren Breeze)

Members' turnings - spalted bowls by Chris, mallee Australia shaped bowl by Keith N?, burr elm bowls by John and Steve