Ryedale Woodturners
This website is being updated from August 2022. This is an archive page.

John Oldham
Thursday 5 October 2017
Snainton Village Hall
John demonstrated how to make a Harry Potter wand, complete with lumos tip. John is the "quartermaster" at Teesside Woodturners Association, and stepped in at relatively short notice in place of Tony Wilson, who is struggling with mobility in his arms. John's demonstration proved a worthy substitute. Our thanks are due to our club secretary, Malcolm, who managed to find a replacement through many phone calls.
The stem
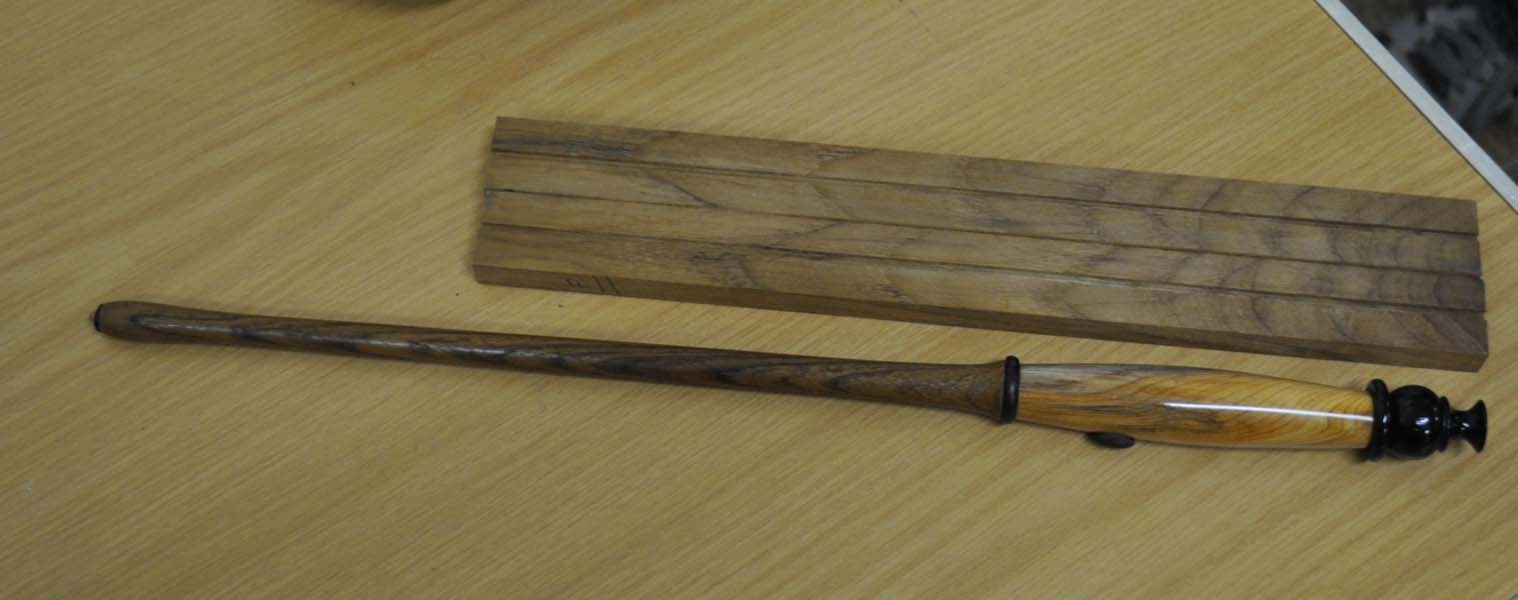
John started with the stem of the wand. Being long and thin, he had found great problems in drilling a hole through the centre of a long blank. His solution was to cut a blank in two, put a groove down the centre, and glue together. He used a piece of Ovangkol for the demonstration, an African timber similar to rosewood.
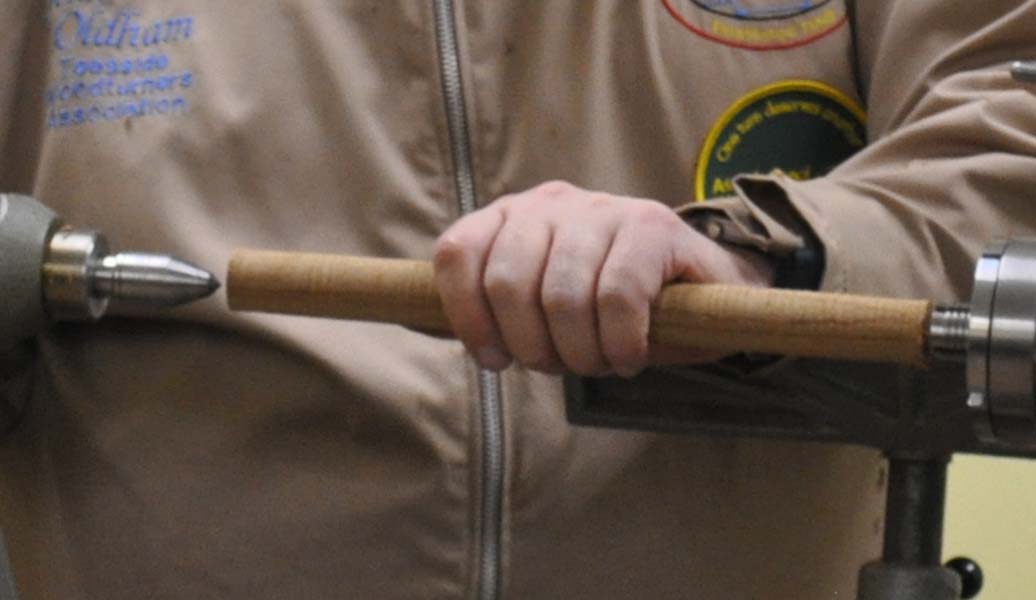
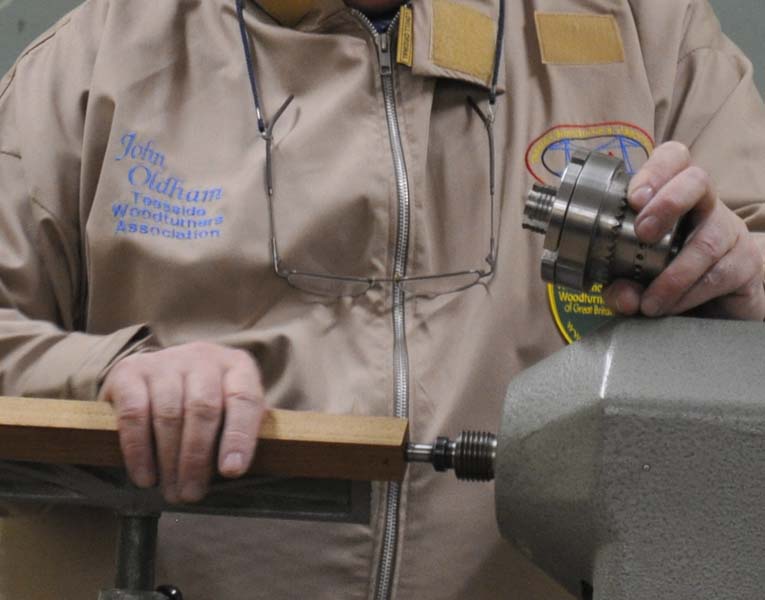
He turned a glued blank between centres to round using a roughing gouge. He added a chucking point so that it could be transferred to holding more securely with his Titan Multistar scroll chuck (fitted on to our lathe with a purpose made thread adapter, sourced by Malcolm).
He continued with the same gouge to taper the wand, giving light support behind the wood with this fingers. (If your fingers get too hot, you are pressing too hard.) The chucking point would become the joint for attaching the handle later.

John is of the mind that the end result is what counts. He admitted the tooling on the blank was not as smooth as, for example, a skew might produce, but sanding strips from 120 through to 1200 would produce a perfectly good shape and surface.
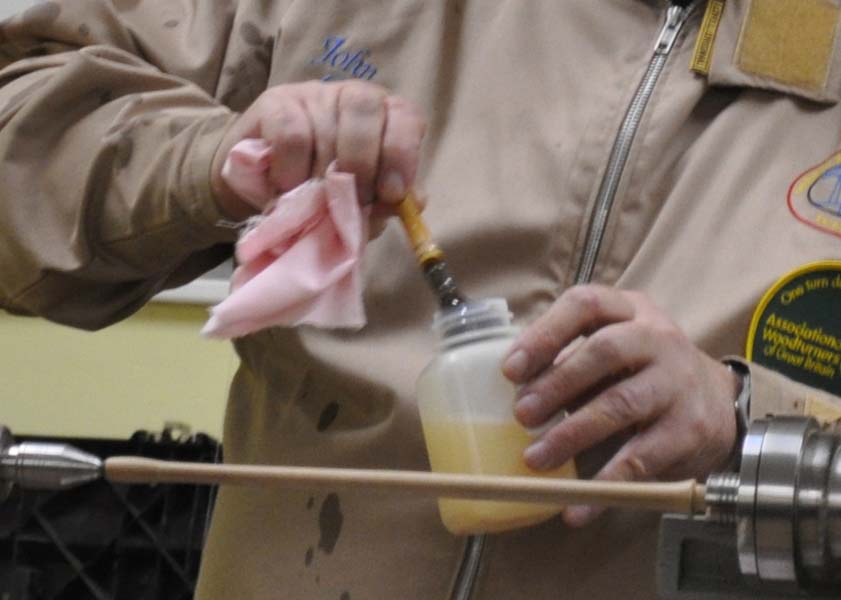
Sanding sealer was applied - with a brush, not a paper towel - with the lathe running at 100 rpm. This was after John had shaken half the contents of his sealer bottle over himself! The excess was wiped off with a piece of cotton.

The final finish was carnauba wax, with a touch of beeswax in it to soften it. John melts this into stars and sells them at his club. The star shape gives five points to use when applying the wax directly to the wood. When all the points go blank, he puts them back in the wax pot and remoulds to a new star. Quite a few were sold at 2 for a pound during the interval.
The handle
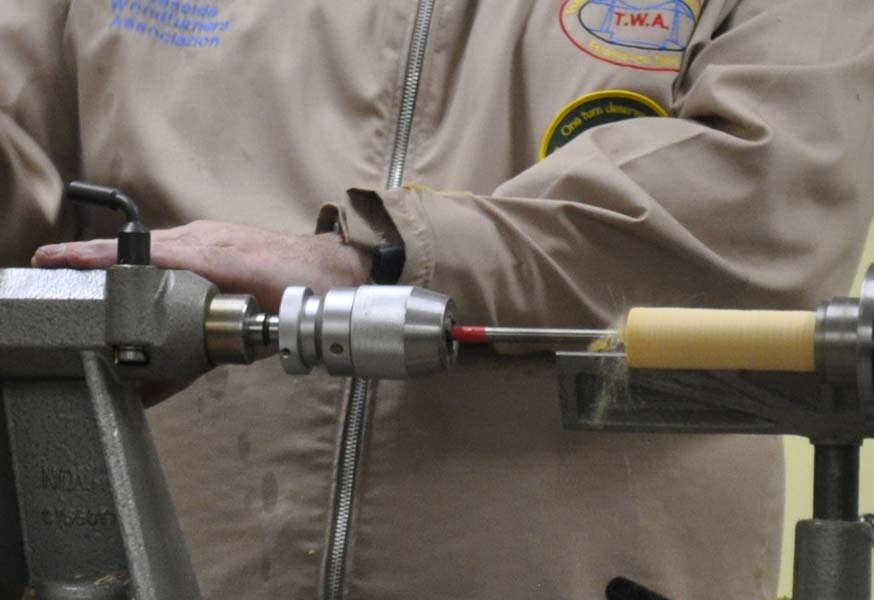
After the tea break John moved on to turn the handle. He drilled out the centre with a 3-D bit to start, and then a Forstner to clean up the sides, Held in a chuckless Jacobs chuck (RDG tools).

A small hole was drilled for the on/off button - squared out with a file or a knife. The switch is very sensitive, and only needs a light touch. It will be covered with a knot-like button.

The inside diameters were different at each end. One has to match the chucking point from the wand, the other a stopper. In betweein is space to hold a small battery and casing, and the wires for the switch.

The endstop can be turned from any wood. Ebony is a strong preference, though John felt that any wood with ebonising lacquer applied would give a good likeness to ebony. Unfortunately the piece of yew he chose had a small fissure which prevented it being finished on the night.

The knot-like button to disguise the switch needs to be shaped underneath, concave so that it will fit on to the curve of the handle. John used a Dremel for this, holding the button in his fingers. He also showed us a jewellers peg-vice as an alternative for holding.
Hints and tips
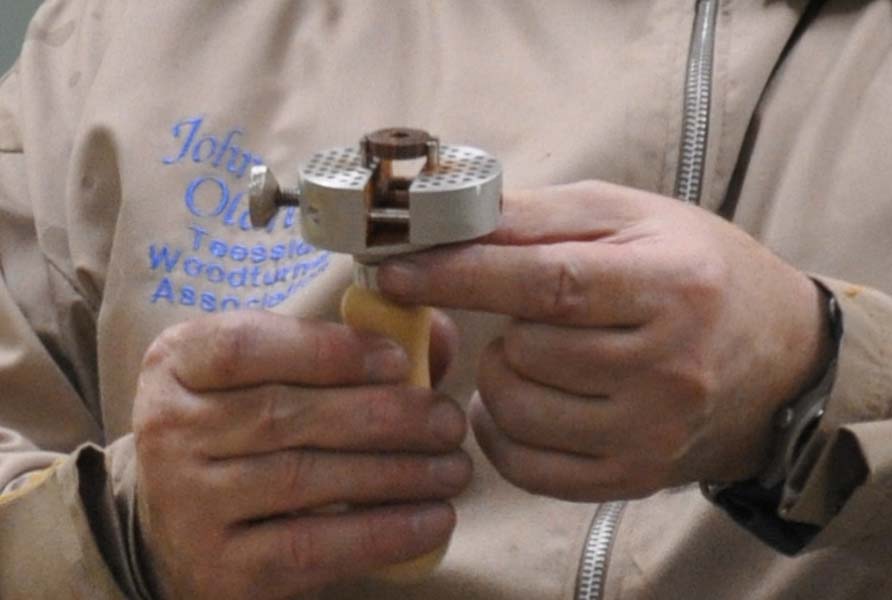
For holding small pieces while sanding or shaping, a handy device used by jewellers can be employed to save the fingers. The pegs can be set to different shapes and diameters. Called a universal work holder or peg vice, they can cost under a tenner.

A thin parting tool can be made from a large hacksaw blade, ground down to a point and the teeth ground off. John's example had a foam casing wrapped around it to use as a handle.
A few pictures of John Oldham's exhibits and Tony's sphere turning

John Oldham wand parts

Tony Langthorne - spheres

John Oldham boxed wands

Tony Langthorne - spheres

John Oldham light-pull centre

Tony Langthorne - sphere chuck
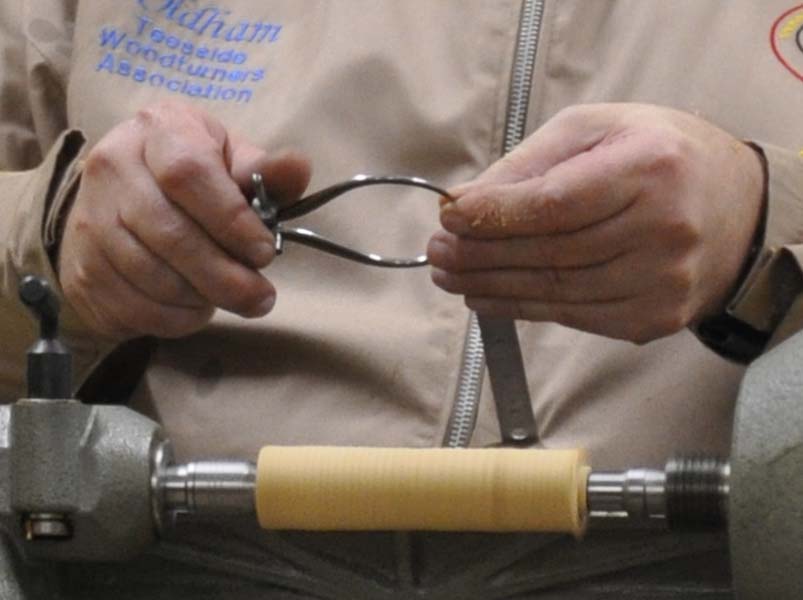
John Oldham calipers
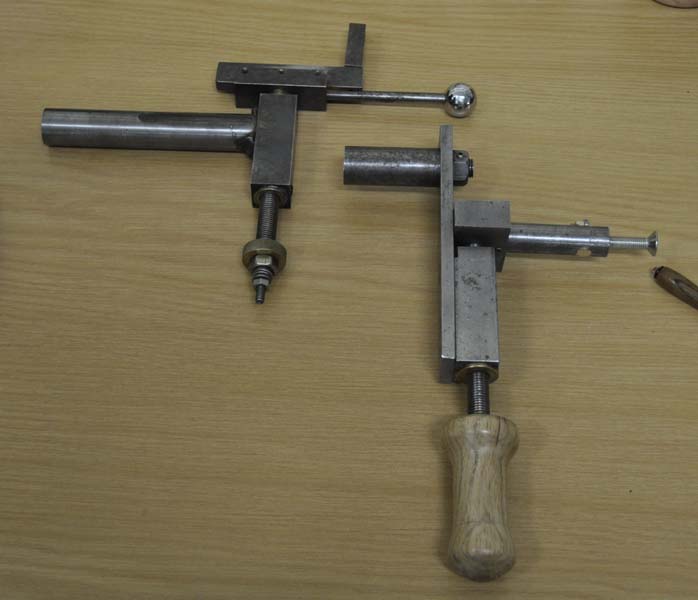
Tony Langthorne - sphere jigs