Ryedale Woodturners Club Demonstration
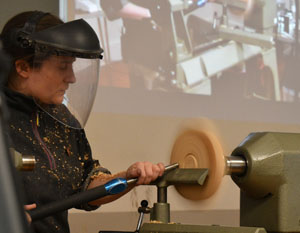
Emma Cook
Thursday 6 June 2024
Snainton Village Hall
We welcomed Emma Cook back to the club, following a well-received demonstration in April last year.
Square platter with airbrush decorations
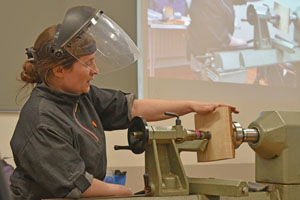
Emma started with a block of sycamore, 7" square by 1½" thick - a little too thick for the project, so there would be a few more shavings than ideal. She started with the block held between steb centres, which don't leave a deep hole from their centre point due to the retractable sprung centre tip.

Various manufacturers now make steb centres, though they are often called crown centres or multi-point centres [because Gerry Stebbings invented it and "steb" is a tradename. He sold the copyright to Sorby a few years ago, who sell Stebcentres at around £65, dependent on version. ] Record have a version - the Coronet Hawk - for about £40, so do Axminster, and you can buy cheaper copies on eBay for around £20. [They quite often come up in garage clearances - watch out in our shop second hand tools sales.] Simon Hope sells a Star Drive - pictured here - with interchangeable centres, about £50.

Emma cut a tenon into the blank whilst between centres using a parting tool, at a slight angle dictated by avoiding the tailstock. The blank was then reversed and held in the chuck jaws while the base was turned to shape, a second tenon being added with a little more care as it could potentially be a foot for the finished article. She used a piece of tape on the toolrest to mark where the spinning corners were - it helps to avoid being caught by them. Most of the shaping was done using draw cuts.
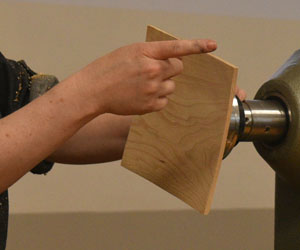
The back was lightly sanded using a sanding arbor on a handle [Simon Hope's] to distance fingers from the spinning corners. Start with a low grade - 120 or 180 - as there will be toolmarks to remove given the fresh air involved when turning. Having sanded to a finish the piece was again reversed and the platter was dished out - very shallow as a design was to be applied, and deeper bowls create optical illusions and distort perspectives.
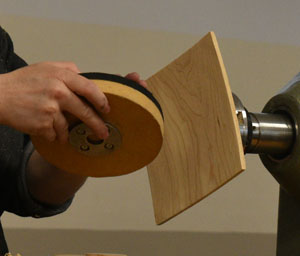
If it is preferred to take the foot off, it is best to do this at this point, that is, before the decoration to avoid risk of marking it. A jam chuck could be used - Emma had an MDF disc with a faceplate on, covered with a black backing foam that can drive the piece with the tailstock brought up while the foot is turned away. An alternative was another home-made disc with a face cloth taped to it with carpet tape. Slightly domed so the pressure is in the centre, less likely to split the piece.
 -
-
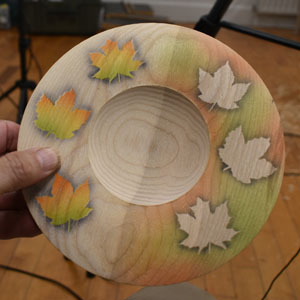
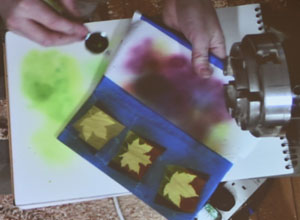
The top surface was masked with ordinary (blue) decorators' masking tape, ensuring every part not to be coloured was taped. A Hampshire sheen leaf stencil sheet was. This had the leaf and the outline - Emma used the outline (so the leaf would be what was painted). These transfers are reusable if handled carefully. Three leaf outlines were used in a strip, with tape blanking off any gaps between them. Paint could be used instead of airbrushing - apply by dabbing with cheap make-up sponges.

Rest on a watercolour pad so that colours can be tested before applying to the wood. Emma uses a cheap airbrush and compressor (£55 - £70), [an Oasser] as she often messes them up due to lack of care and it would not be worth her while to do this with expensive versions. She sprayed the leaves first with yellow spirit stain, allowed to dry, then feathered in some green at one side, then some orange at the top. The next step was to mask the leaves then spray the background blue.

Emma transfers her stains from the standard bottles to little plastic dropper bottles, which allow more control when putting the stain in the airbrush cup, hence reducing waste. The final step was to put a black shade line around the leaves. She has an airbrush dedicated to black only, because it is the most difficult colour to clean out. The spray is directed at the masked leaf, so only the hazy spray shadow shows on the platter.

The airbrush, which came with the Oasser compressor, is typical in having dual action: pushing the trigger down it releases air, pulling it back pulls back an internal needle that allows paint in the gravity feed cup to go into the barrel. It then stays there until you release the air to propel it out of the nozzle. An adjuster nut at the end limits how much paint can come through (by limiting the movement of the needle).
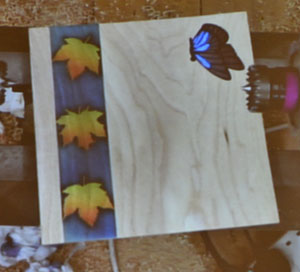
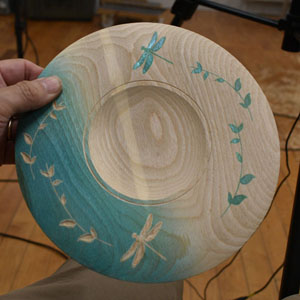
With the strip of leaves finished, Emma next put a butterfly in another corner of the platter. This demonstrated the use of "transfer tape" which allows you to pick up small pieces of stencil and place them on the wood. Sprayed black first for the outline, the pieces of stencil in the wings were gradually removed and the areas were sprayed with different colours - blue, purple, red. A small craft knife helps lift the tiny pieces. Removing the stencil revealed a small bleed with the stain, which Emma covered up by using a touch of her chameleon colours - applied with a glue size - which also gave a highlight to the design.
Turning a sphere
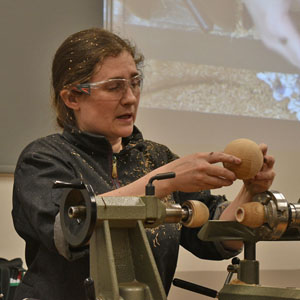
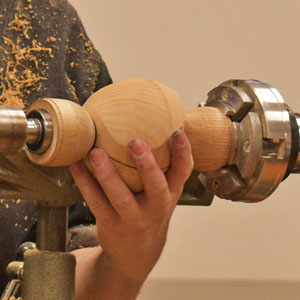
For the second part of the evening Emma turned a 3" diameter sphere "freehand". It involved turning a cylinder, then re-orientating it a few times using cup chucks with O-rings to hold the developing sphere. She explained how to make the chucks from scrap timber, a cup turned out to hold the sphere and a silicone O-ring glued to the rim. The ring rests in a recess, half in, half out, so that it grips the sphere. The tailstock end chuck has a recess that accommodates Paul Howard's live centre, available from Hopewoodturning.
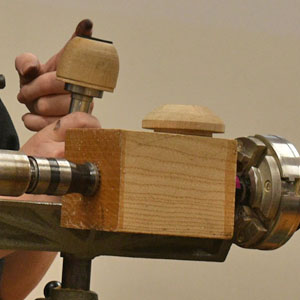
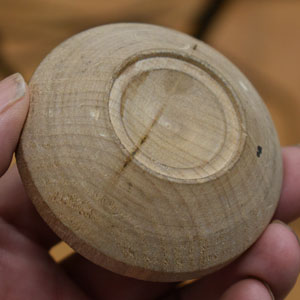

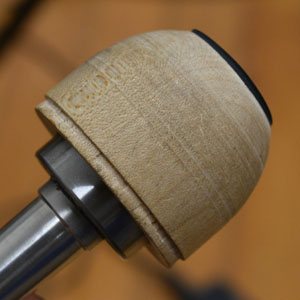
Emma turned the whole sphere using 3/8 and 1/4 inch bowl gouges, regardless of the direction of the grain. The blank was longer than ideal - best to have it half an inch longer than the sphere. The block was turned to round, a centre line was drawn, and then the aim was for a rugby ball or lemon shape - don't try and get to the sphere too soon. No need to go in at the ends with a parting tool - you will create two lugs which can be less receptive to turning off than a more solid lemon. This was then taken off and remounted at 90 degrees, between two cup chucks. Repeated four or five times until the sphere emerged.


Some exhibits by Emma.